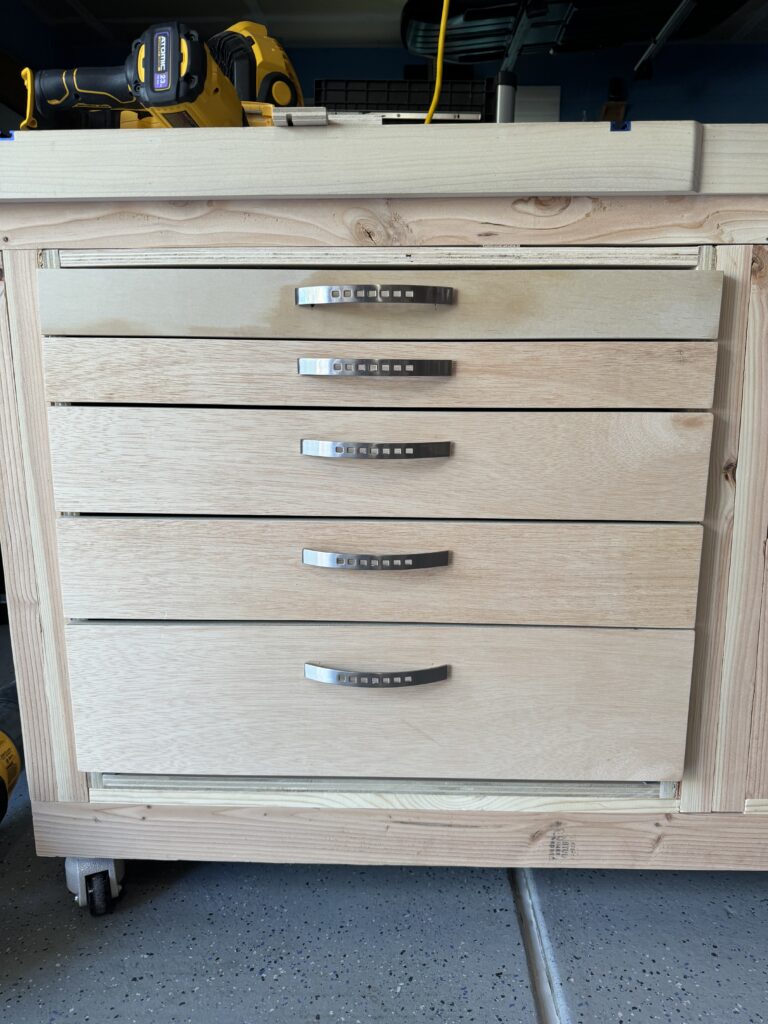
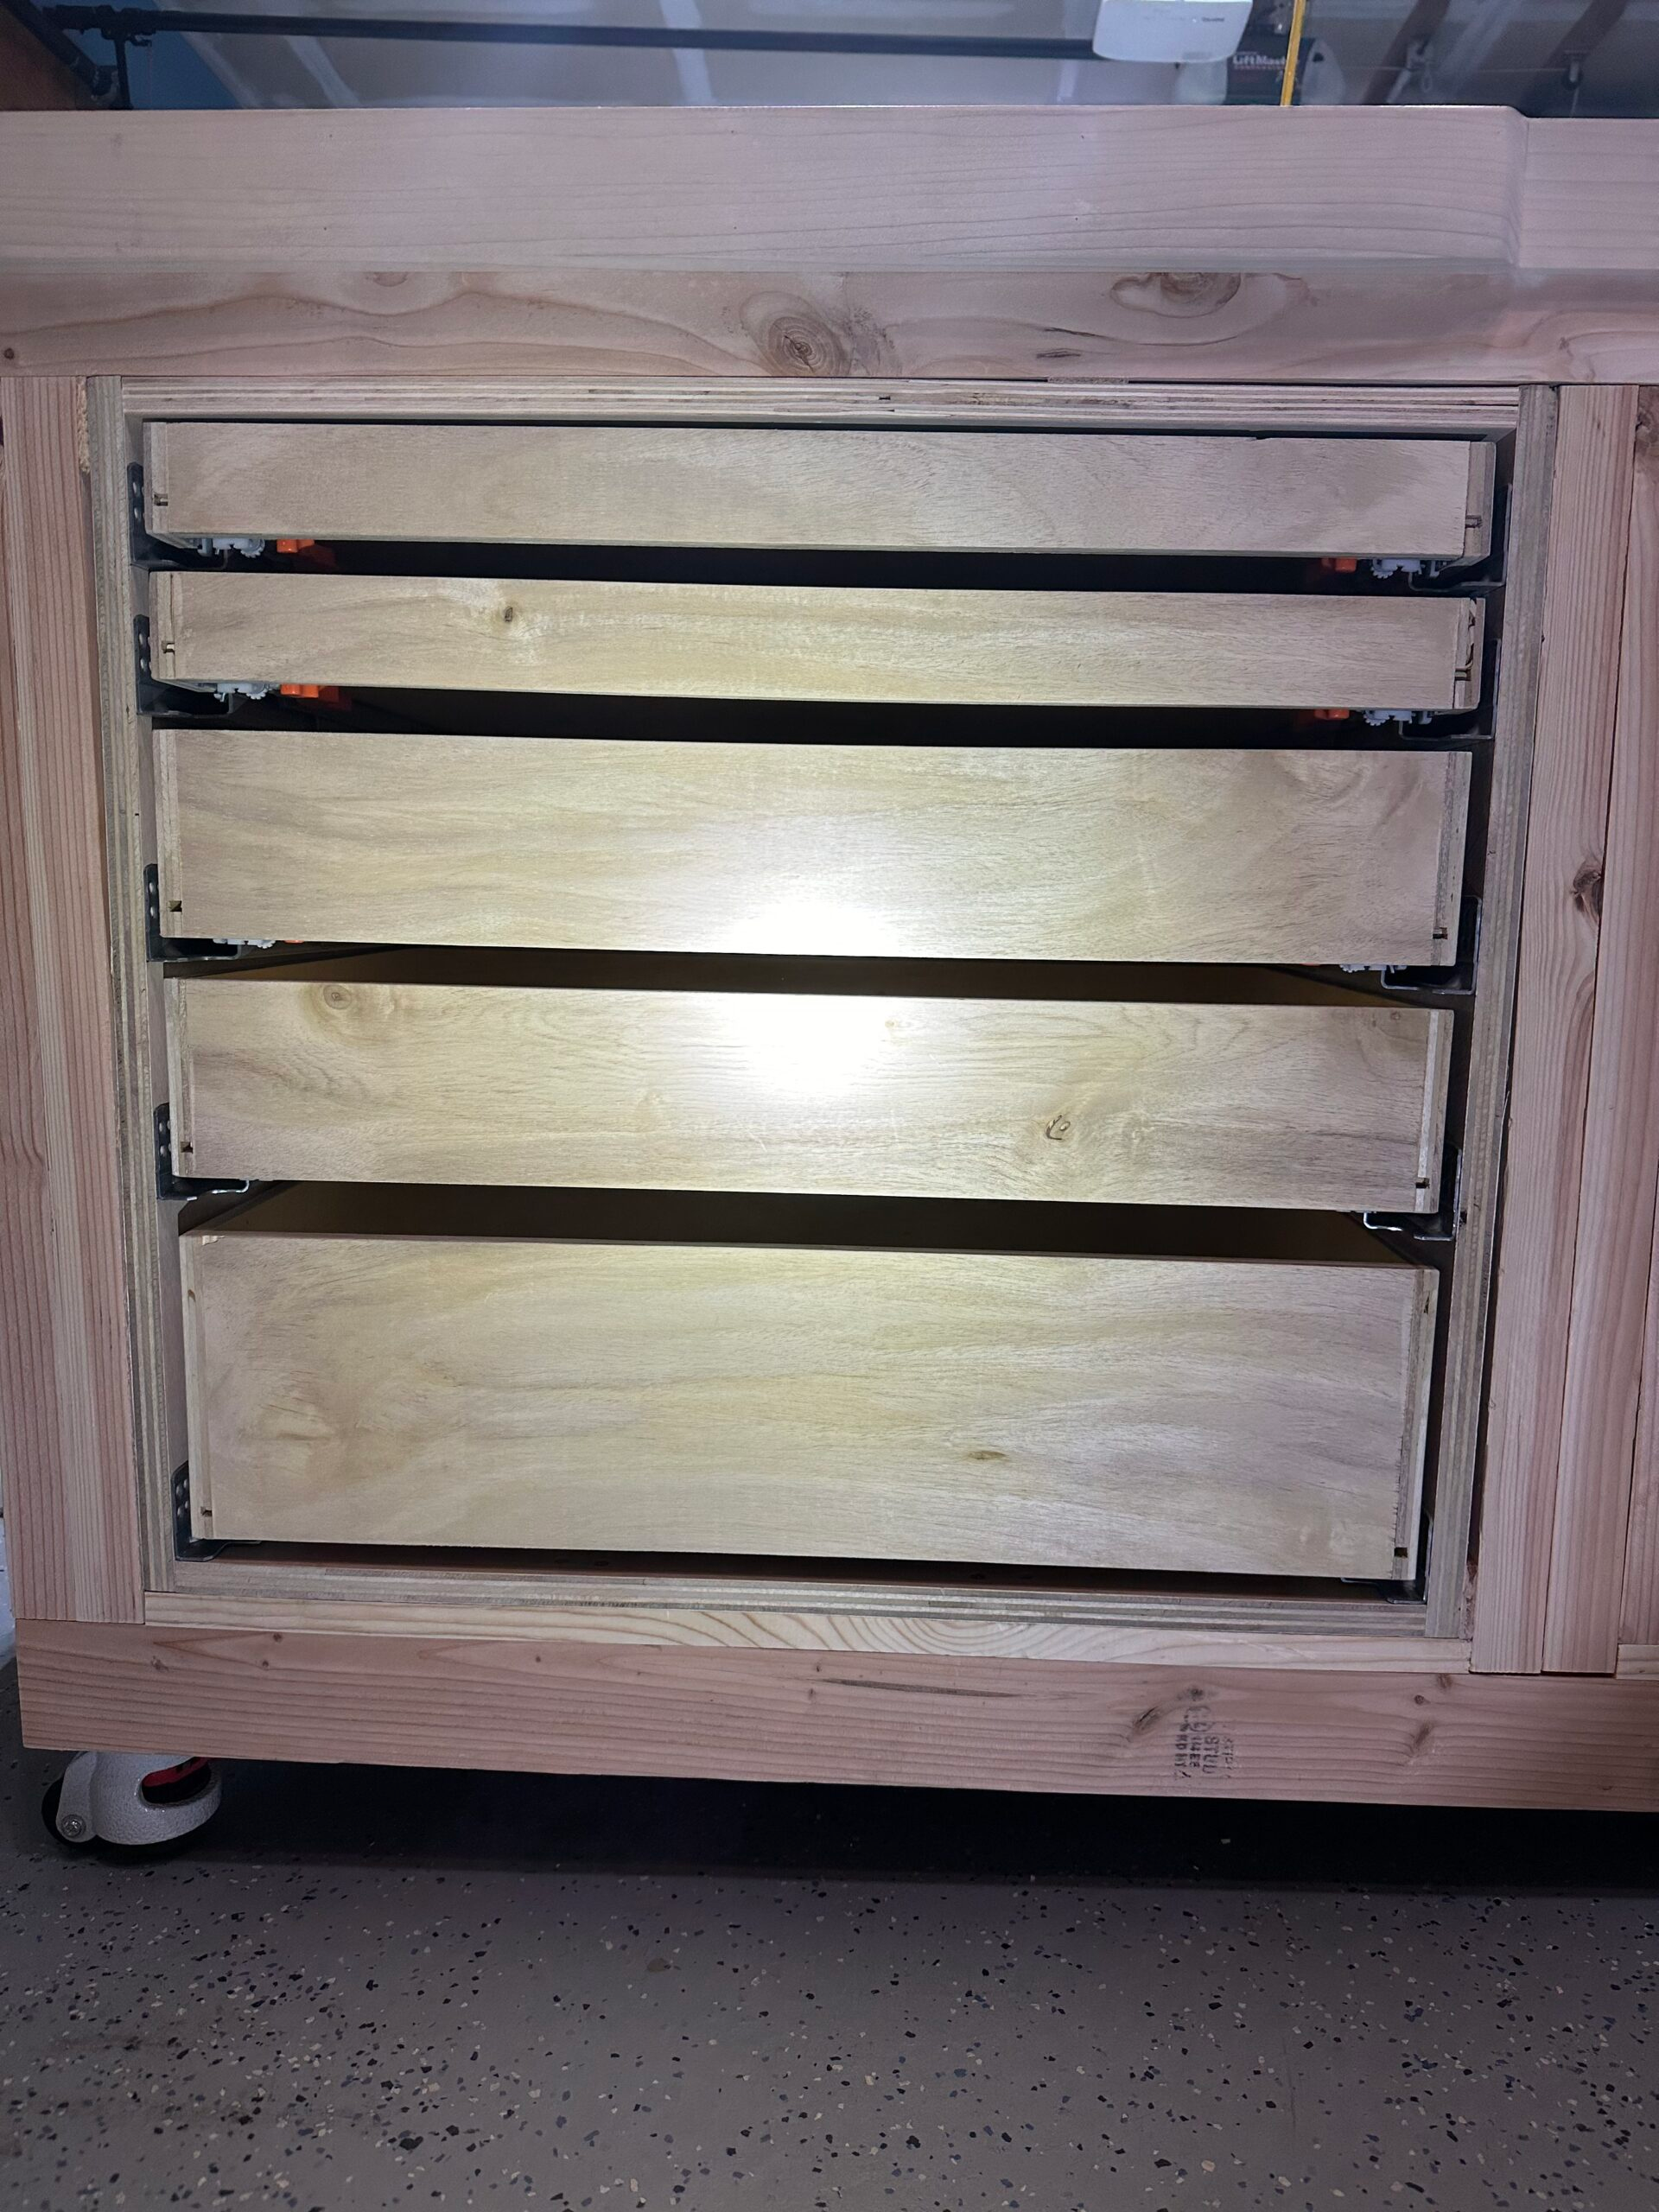
I made a ton of mistakes when building my first drawer cabinet. I thought it would be easy because I’d watched a lot of how-to videos on YouTube. In retrospect, the videos focused more on what to do than what not to do. That and I’ve still got a lot to learn about cabinetry.
So if you’re here to learn how to make a drawer cabinet, you can probably move on. I’m not going to share much about the process, materials used, or a cut list. But I firmly believe you learn more from your mistakes, particularly when you’re confessing to them in a blog post!
Take the time to make a drawing
Honestly, I rely too heavily on my imagination. And the SketchUp app can be frustrating. In this case, I was spending a lot of time trying to get the dimensions for the drawers exactly right and the dimension tool in SketchUp was driving me batty. Every time something went wrong in SketchUp I would think about how my time would be better spent in my workshop. So I shut down my computer and moved to my workshop.
This ended up being an expensive mistake because I cut all of the drawer fronts and backs a little too short. It forced the first of several momentum-killing trips to Home Depot to get another sheet of plywood.
Read the fine print
I purchased Touch Undermount Drawer Slides based on the recommendation of a YouTuber. The full Moto Woodworks review of this product is here, but it’s slightly off-topic for this post. If I had read the fine print, I would have seen that these slides work with drawer sides that are 1/2″-5/8″ thick. The product title has since changed on Amazon to include this critical detail, so I’m not the only one who didn’t notice.
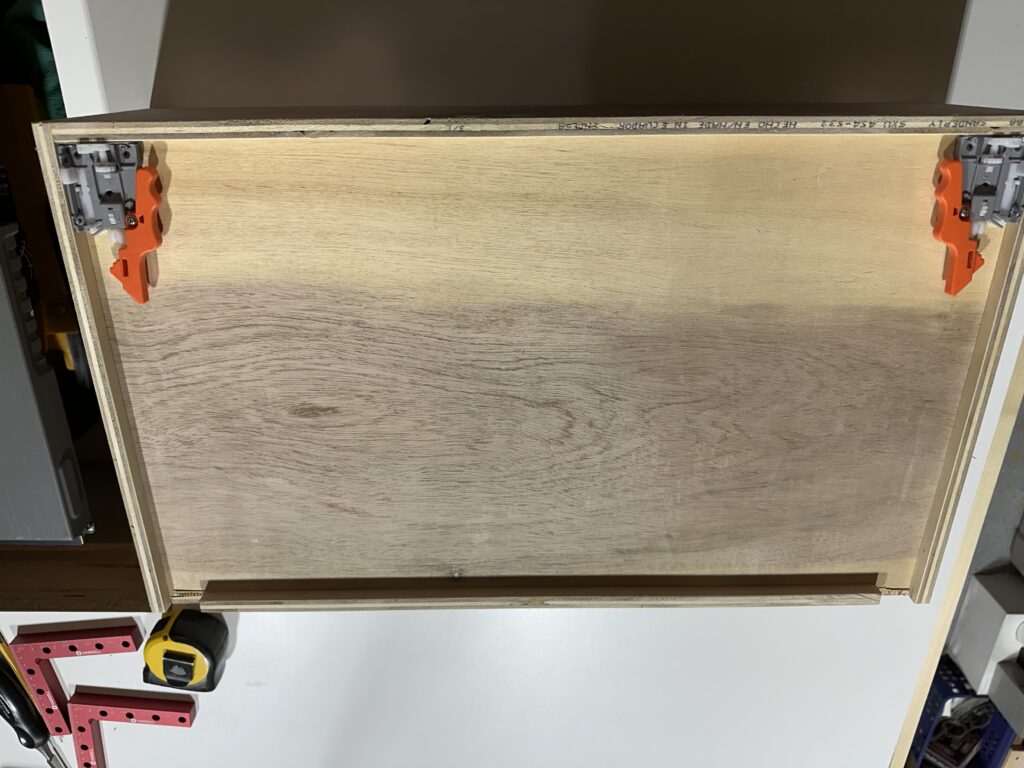
I had intended to build the drawers using 3/4″ material. If I had a drawing (see mistake above), I could have adjusted the thickness of the drawer sides and seen what other dimensions were impacted. For example, the dimensions of the drawer bottoms would now be slightly wider.
Instead, I made all of the adjustments on the fly. It involved a lot of re-measuring and test fitting, and it greatly increased the build time. But I got it done and I guess that’s saying something.
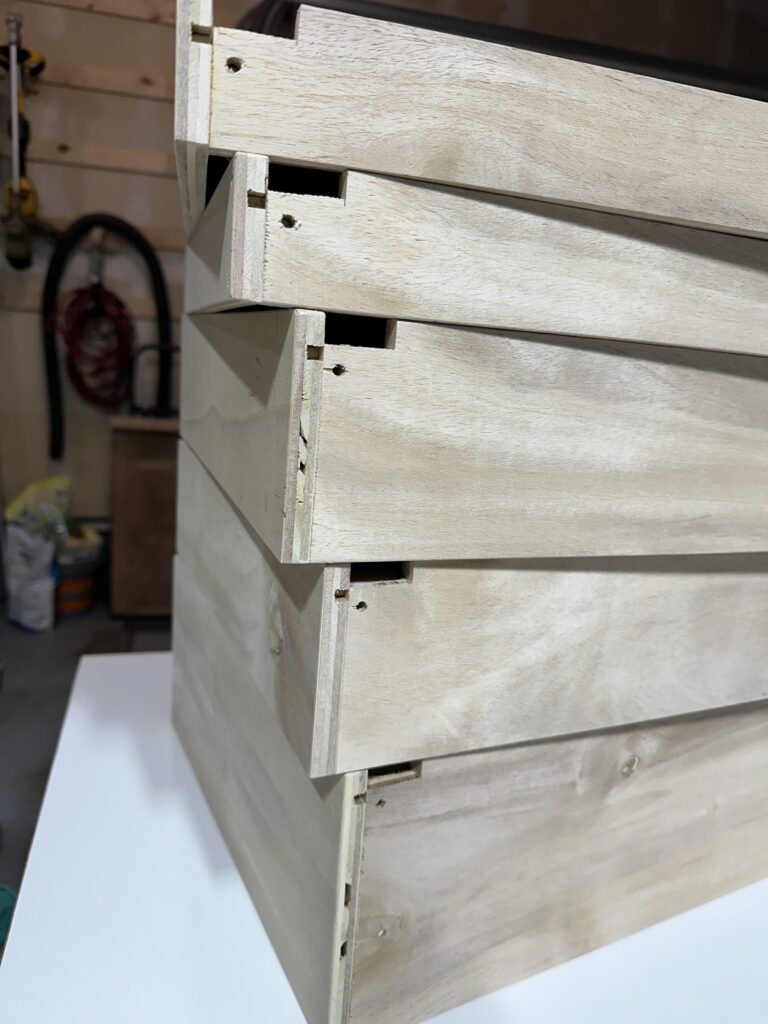
Side note: As someone who does a lot more work with 3/4″ material, I have to say it was very different using 1/2″ material. The first time I drove screws into a drawer side – into the plies from the edge rather than through them from the surface – the panel promptly split. The pilot bit in my countersink is fixed or I would have switched to a larger bit. I opted to switch from #8 screws to #6 screws for the drawers. Except I didn’t have any, so this turned into another unplanned trip to Home Depot.
Leave room for error
The drawer cabinet was going into a specific space in my workbench. I measured the space several times and made the cabinet carcass to fit snugly. At the time, I was eager to utilize as much of the space as possible.
I didn’t realize the space wasn’t perfectly square until it was time to put the cabinet into the space. The cabinet fit so tightly that I had trouble correcting the problem. I thought briefly about remaking the carcass but shuddered at having to remake all of the drawers too. I forced the carcass into the space, rationalizing that it was “just shop furniture.”
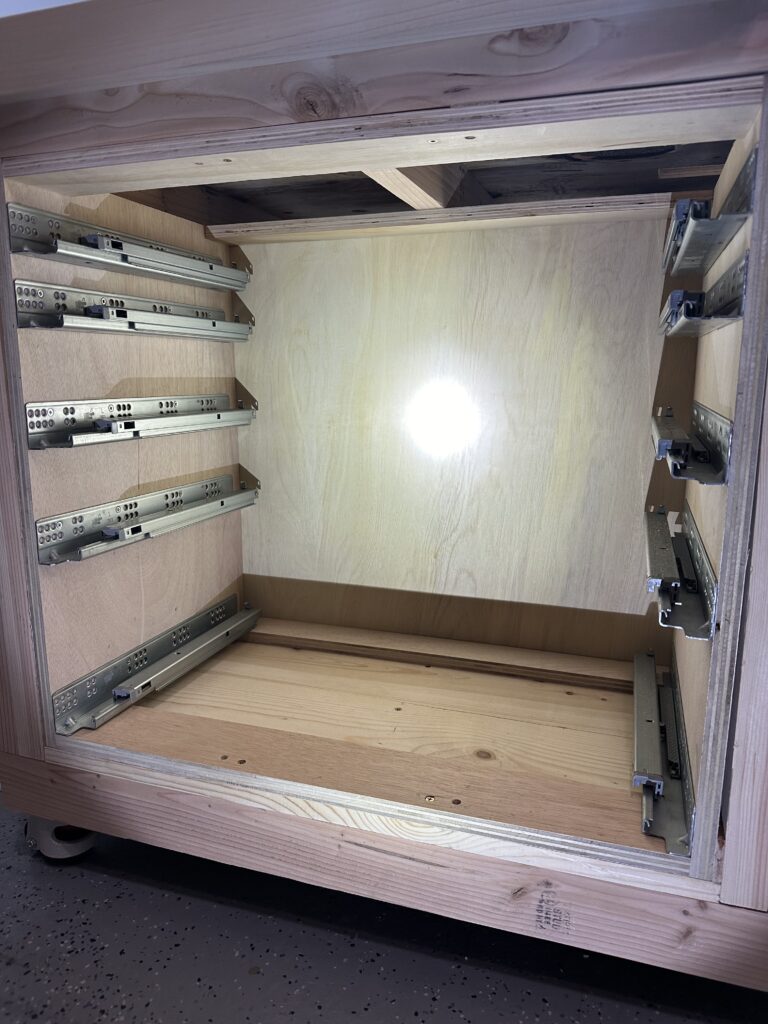
Why isn’t the space in the workbench square, you ask? Well, that’s a whole different story for another time. The short version is that I used dimensional lumber without the benefit of a jointer or planer. At least, that was my excuse to buy a planer. But really, the workbench is within the tolerances of dimensional lumber that hasn’t been jointed or planed.
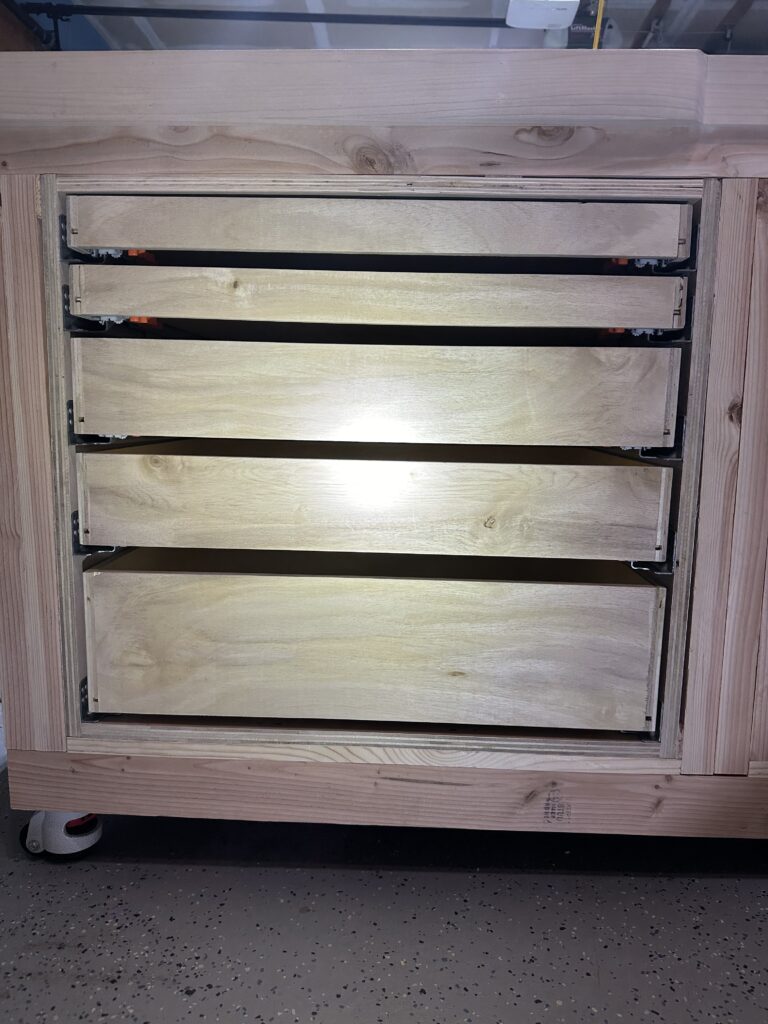
I should have made the cabinet 1/4″ shorter and narrower. It would have allowed me to keep the carcass perfectly square. The gaps would have been small and easily covered with trim pieces. I’d be celebrating how good this cabinet looks. When people notice the drawer cabinet I quickly redirect them to the flip-up outfeed panel on the other side!
Final Thoughts
It’s hard for me to ignore all of the problems with this project. I’m in my workshop almost everyday and a piece of me dies when I see this drawer cabinet. The gaps around the cabinet are uneven, the gaps between the drawers are inconsistent, and if you look closely the bottom drawer is higher on one side. It doesn’t self-close either, probably because it’s out of alignment.
I could hide some of the ugliness by installing trim around the drawer fronts. I call that “polishing a turd.” You can make it look a little nicer but it’s still a turd! It serves as both a punishment for the poor decisions I made and an incentive to rip it out and try again.
