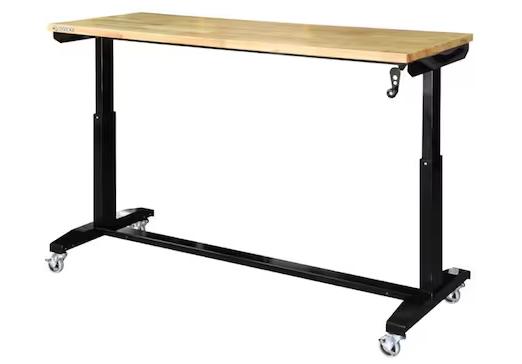
I wanted a table large enough for my xTool P2S laser and laptop. I also wanted an adjustable-height feature. This would allow me to roll it next to other tables for in-feed and/or out-feed support. And so I purchased the 62″ Husky adjustable-height table from Home Depot.
I also wanted to make use of the space under the table top by building a cabinet customized for a variety of laser accessories. Credit to Eastwing Woodworking for The Ultimate Husky Work Bench Build. That video shows a very different cabinet, but it’s where I got some ideas for mine.
The Cut List
You will need two sheets of 4′ x 8′ 3/4″ plywood. The cut list is very straightforward and you’ll have plenty of plywood left over.
- Top and Bottom Shelves: 62-1/8″ wide by 18″ deep
- Left, Center, and Right Panels: 16-3/8″ tall by 18″ deep
The Design
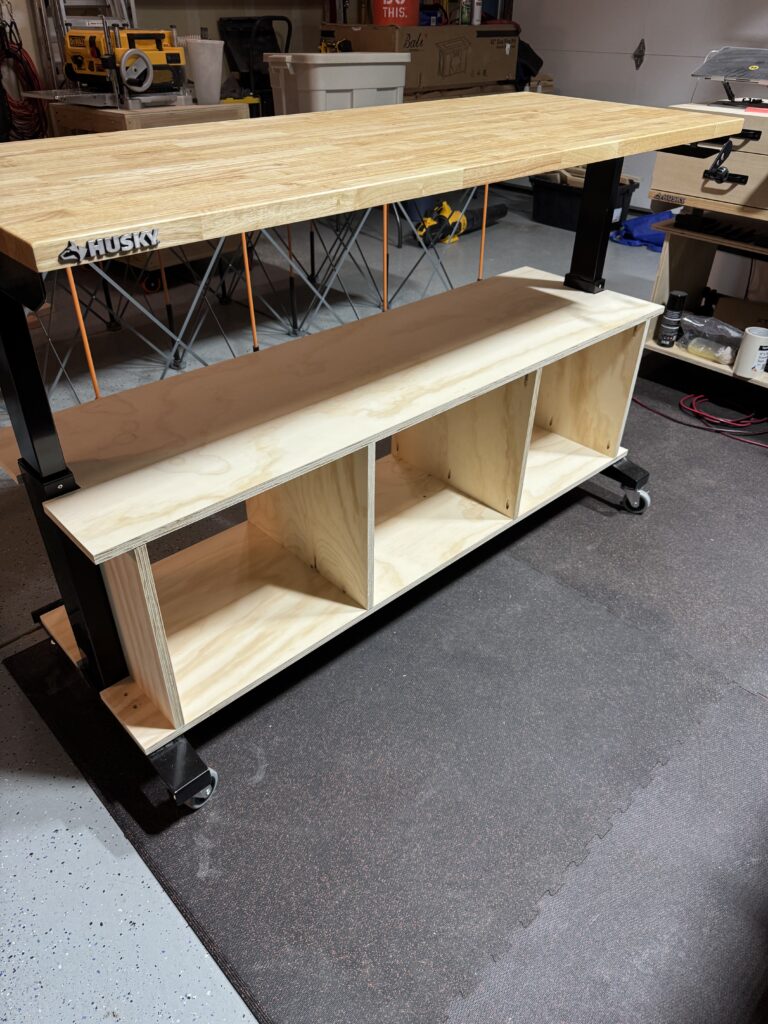
The first thing you’ll need to do is decide on the dimensions of the cabinet. The table top is 62″ wide and you could actually build a 62″ cabinet, hiding the leg pillars within the cabinet. If this were going into an office, I might have gone for this, more finished look. But this is going into my workshop. I’ll use 62″ lengths for the top and bottom because it allows me to screw into the feet of the legs for strength, but the cabinet will fill the 57-1/8″ of usable space between the legs.
I believe the table top is 24″ deep for all versions of the Husky adjustable-height table. I decided to set the cabinet back 3″ on both sides to give my clumsy feet and knees some room when I’m working at the table, so the cabinet will be 18″ deep.
For the height, I lowered the table to its lowest position and measured. I decided that even with the table in this position, I wanted a little bit of clearance to set miscellaneous things on top of the cabinet. As a result, the vertical panels for the cabinet will be 16-3/8″ tall.
That’s it for now. The design is super basic because I want to use this Husky adjustable-height table and custom cabinet for a few months. I’m not going to design and build a bunch of drawers or shelves until I know how they will improve my workflow. In fact, I’m not even going to put a back on the cabinet.
The Build
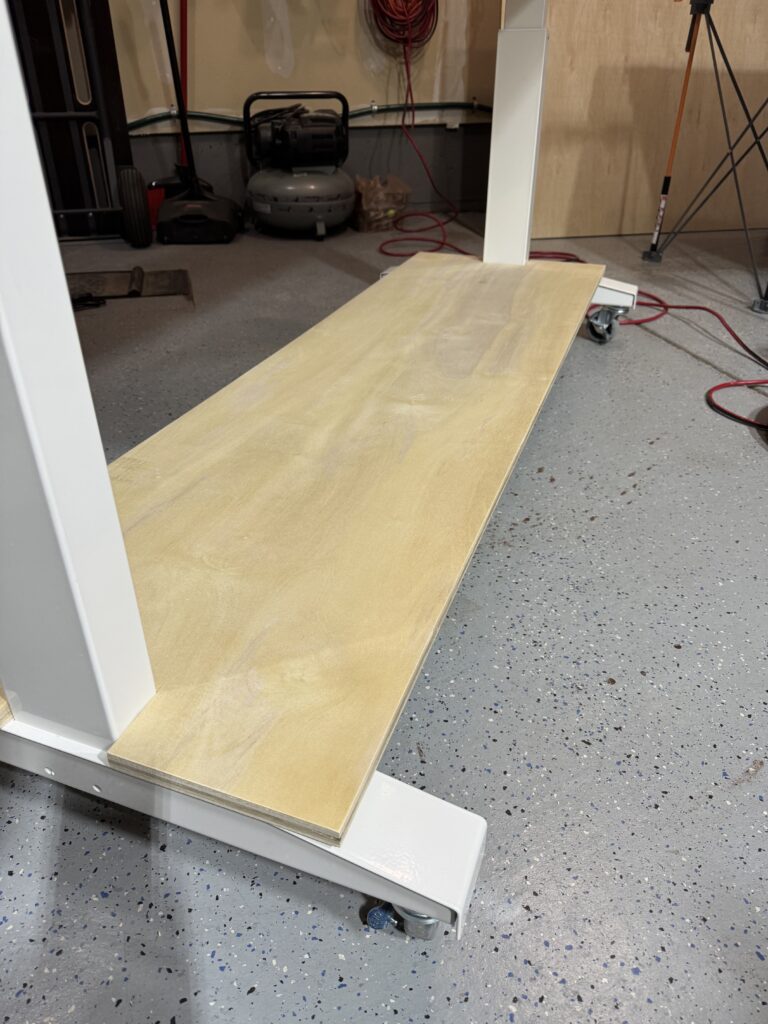
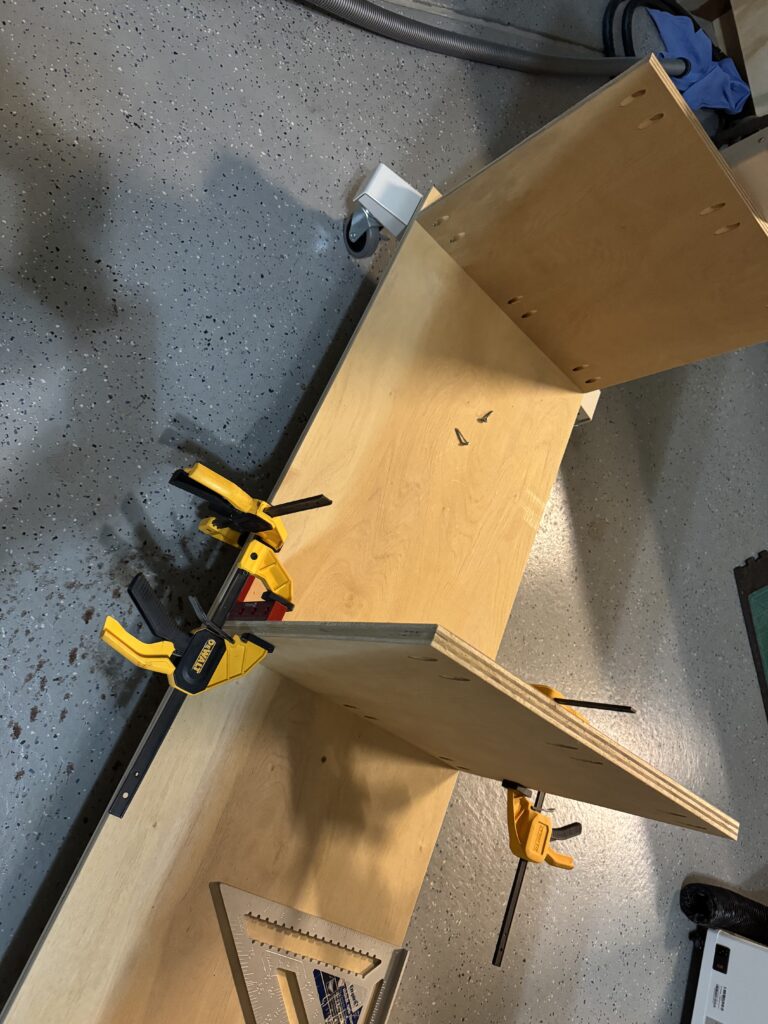
The first step is to cut out the notches for the leg pillars. They are exactly the same for the top and bottom shelves. The notch is 4″ x 2-1/2″ and I used a jigsaw. If you are centering the cabinet like I did, there will be 7″ on either side of the notch.
Once I had the fit down, I used the bottom shelf as a template to cut the notches in the top shelf. With the cuts done, I stopped to sand. I see a lot of woodworkers who wait until the end to sand, but I prefer to sand pre-assembly. You’re working with larger surfaces that you can lay horizontally, so it’s much easier and faster.
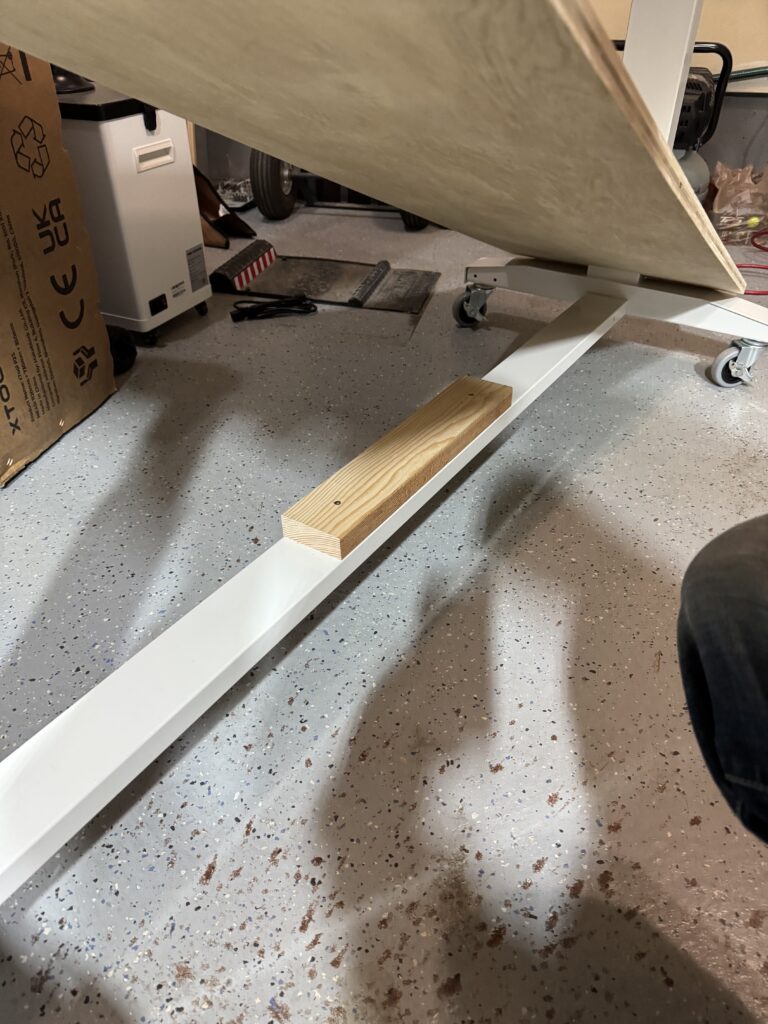
The Husky adjustable-height table is easy to customize with one exception. The center support rail is just over an inch below the tops of the leg feet. This means you need support for the cabinet bottom or it will sag. It’s easy to mill a 2×4 to the correct thickness if you have a planer. If you don’t have a planer, you can run a 2×4 through a table saw on its short side. Same for a band saw. Or you could go the old school route and use a hand planer.
Now you can install the bottom shelf. I counter-sank two screws in the center, hitting the 2 x 4 support board shown in the picture above. This secures the shelf while you work on the ends.
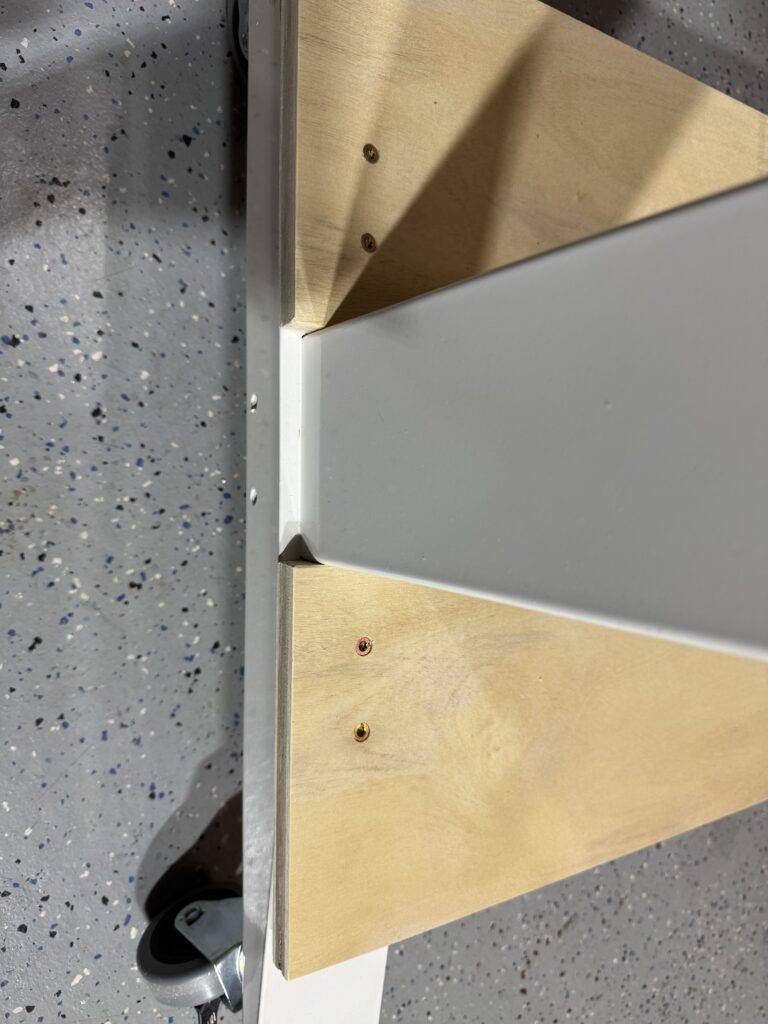
To secure the end of the shelf to the footing, I used two screws on either side of the leg pillar. Taking note of the angled part of the footing shown in the picture above, I made sure to hit the flat part of the footing. By the way, these are standard 1-1/4″ construction screws and I predrilled with a countersink.
The next step is to install the vertical panels. I used 90-degree L clamps to hold the panels and zipped in some pocket screws. Start with the left panel, slide the top shelf in, then install the middle and right panels. You can temporarily hold the top shelf up and out of the way by putting clamps on the upper part of the legs and resting the shelf on the clamps.
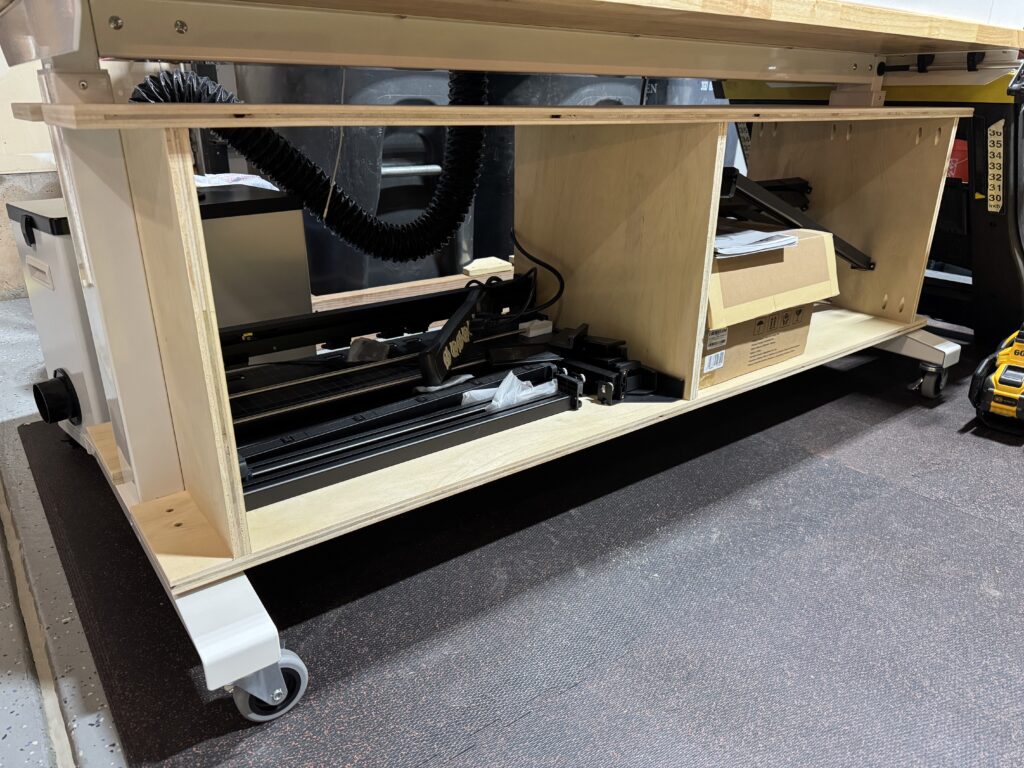
Now you can lower the top shelf and secure it to the vertical panels with pocket screws. And that’s it! Here’s a look at the finished cabinet loaded with some of the accessories I mentioned.
Six Months Later
When I first customized my Husky adjustable-height table, I purposely kept my options open. My thinking was that a bare-bones cabinet would provide short-term utility while I figured out what further customizations were needed. At the time, I didn’t know if I needed more shelves or drawers, a back, or doors.
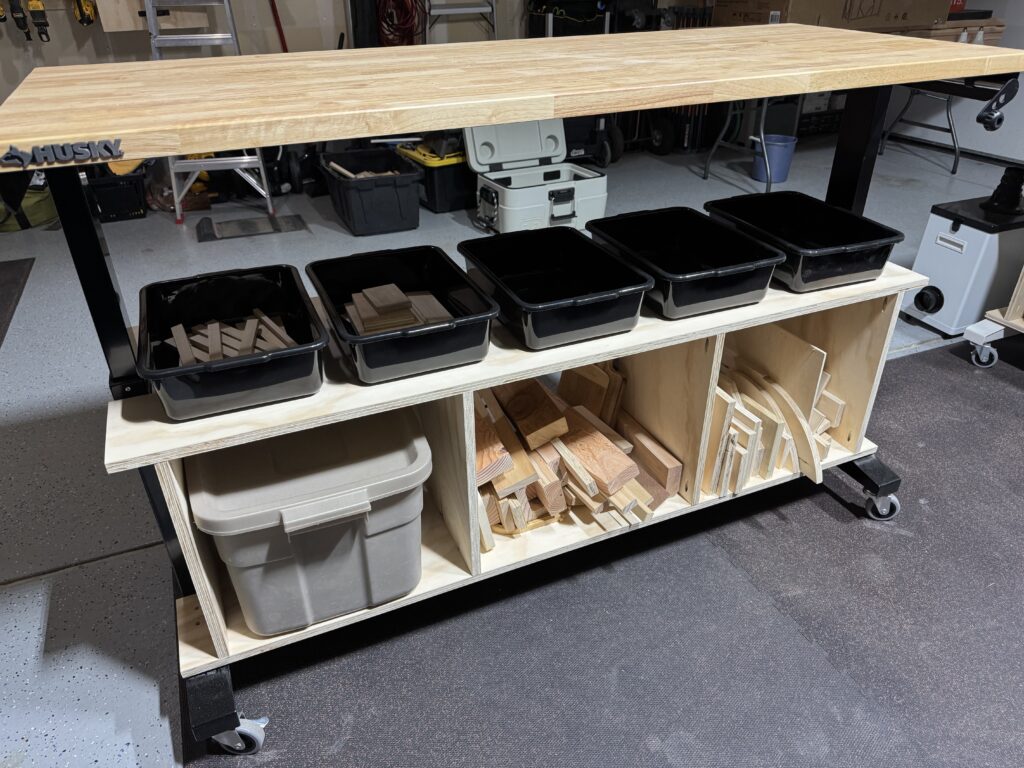
Six months later, I’ve decided the bare-bones cabinet is actually the best fit for my needs. The left side is where I store all of the parts for the auto conveyor feeder. Maybe I’ll build some custom storage for it, but it works fine for how rarely I use the conveyor. The right side is where I store a variety of items, including basswood sheets, acrylic sheets, laser documentation, rubbing alcohol for cleaning the mirrors, etc. Many of these items would not have fit if I had divided the space for drawers.
Somewhat surprisingly, I’ve enjoyed having visibility and access from both the front and back of the table. I see what I need and grab it – no hunting through drawers and cabinets to find something that was neatly stored out of sight. The open design works well for me.
Conclusion
In fact, it works so well, I decided to buy another 62″ Husky adjustable-height table! This one is black, and I divided it into three compartments instead of two, but otherwise the design is the same.
Of course, my customizations of the Husky adjustable-height table are not for everyone. It’s what works for me. That said, I hope this post gives you some ideas on how to customize your own table!